
Configure checkout
Logo, color and checkout style
Set the checkout’s visual identity and decide which checkout and confirmation pages Trim should display.
Where to go WooCommerce → Trim Checkout → General
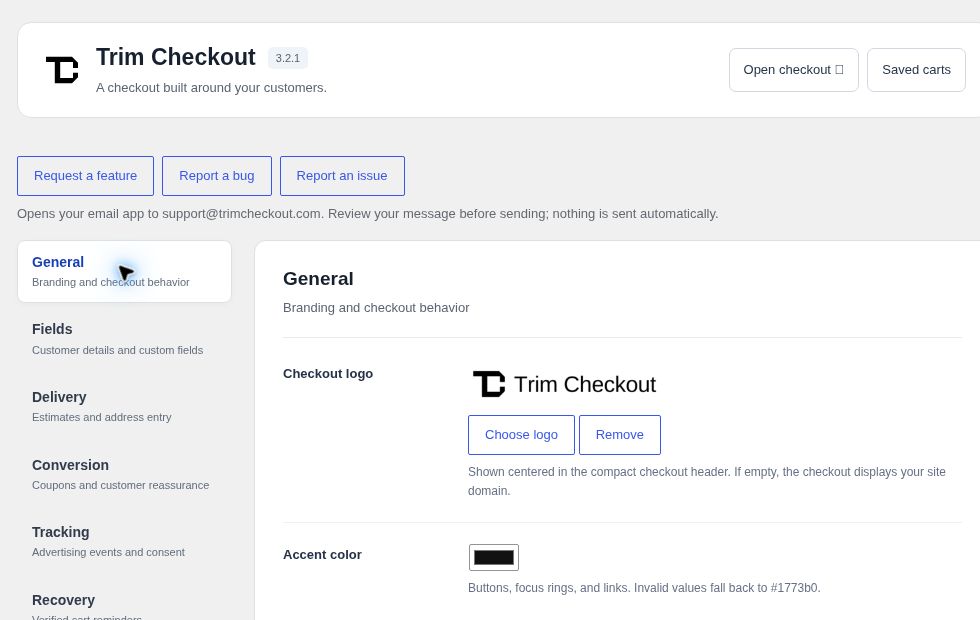
Match your store
- Choose your checkout logo
Under Checkout logo, select Choose logo. If no logo is selected, the compact header displays your site domain. - Set the accent color
Choose Accent color for buttons, links and focus rings. Check text contrast and keyboard focus on the actual checkout. - Choose a style mode
Under Theme styling, keep Trim styles and fonts for the recommended independent appearance, or choose Inherit theme styles and fonts for compatible theme presentation rules. - Save and preview
Select Save all settings, then Open checkout. Recheck desktop and mobile after changing a theme or style mode.
Page behavior
- Replace native checkout
- Enable “Also take over the default WooCommerce checkout URL” after you have tested the separate preview.
- Shopify-style thank-you page
- “Use the standalone confirmation layout after checkout” controls the matching confirmation page. Test the real gateway return; disable it if your gateway requires its own template.
Check before you finish
- Logo is clear at mobile size.
- Buttons, links and focus rings are readable against their backgrounds.
- Product rows and totals still fit after a theme-style change.
- The gateway returns to the correct confirmation page.