
Configure checkout
Edit checkout fields
Ask for the customer information your store needs, using the built-in field controls and custom field editor.
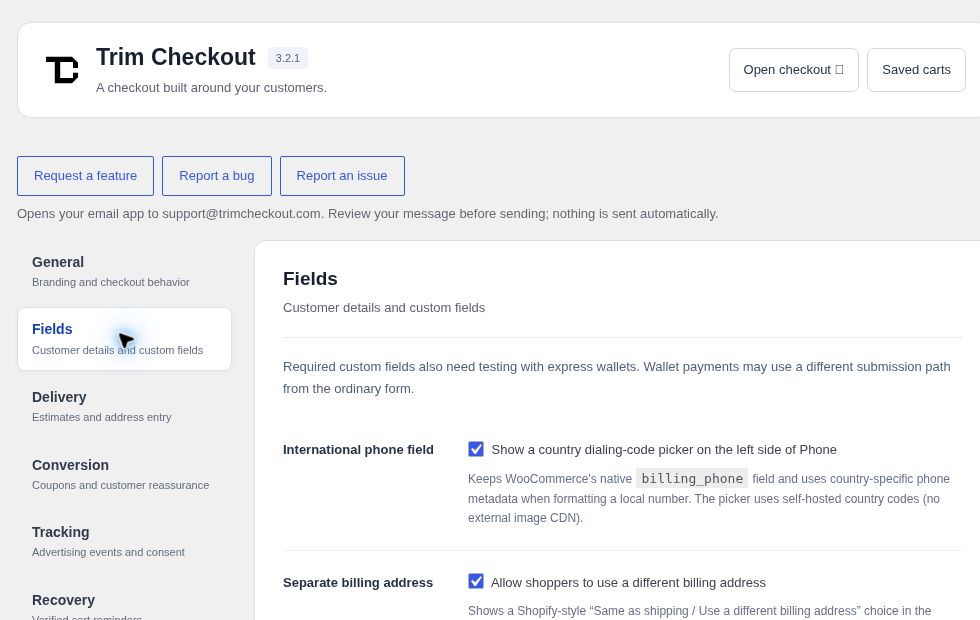
Where to go WooCommerce → Trim Checkout → Fields
Edit a standard field
- Find the Form fields editor
In Fields, scroll to Form fields editor. Each row represents one checkout field. - Set the label and placeholder
Use the first text box for the visible label and the second for an optional placeholder. Write a short label that still makes sense after the shopper starts typing. - Choose visibility and required status
Use Show to display a field and Required to require an answer. Email and country stay enabled as core fields. - Save and test the form
Select Save all settings. Submit a test checkout with the field empty and filled, then verify the saved order.
Add a custom field
Select Add custom field. Give it a unique field slug and a clear label, choose its group and type, then set visibility and required status.
- Group
- Billing, Shipping or Order.
- Type
- Text, Textarea, Select, Checkbox, Number or Date.
- Select options
- Enter one option per line in the options box.
- Required fields
- Test every available express wallet as well as the ordinary checkout form. Wallets may use a different submission path.
ExampleFor an optional delivery note, add a field called Delivery instructions, choose Shipping and Textarea, enable it, and leave Required unchecked.
Helpful entry controls
- International phone field
- Adds a country dialing-code picker to WooCommerce’s native phone field.
- Inline validation
- Shows non-blocking email, phone and postal-code format hints. WooCommerce validates the submitted order.
- Saved addresses
- Lets signed-in shoppers prefill delivery from an existing WooCommerce billing or shipping address. It is not a multi-address-book manager.